With over 30 varieties, the world of winter squash is diverse, but many of us have probably only ever eaten butternut or acorn. Such is the modern food system…. And, while there is nothing wrong with mashed butternut or stuffed acorn squash you are missing out if you haven’t had a chance to try kabocha, delicata or spaghetti, which is a paleo’s dream since it substitutes well for pasta in many dishes.

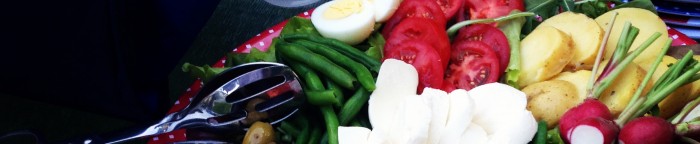
A variety of squash at the farmers market
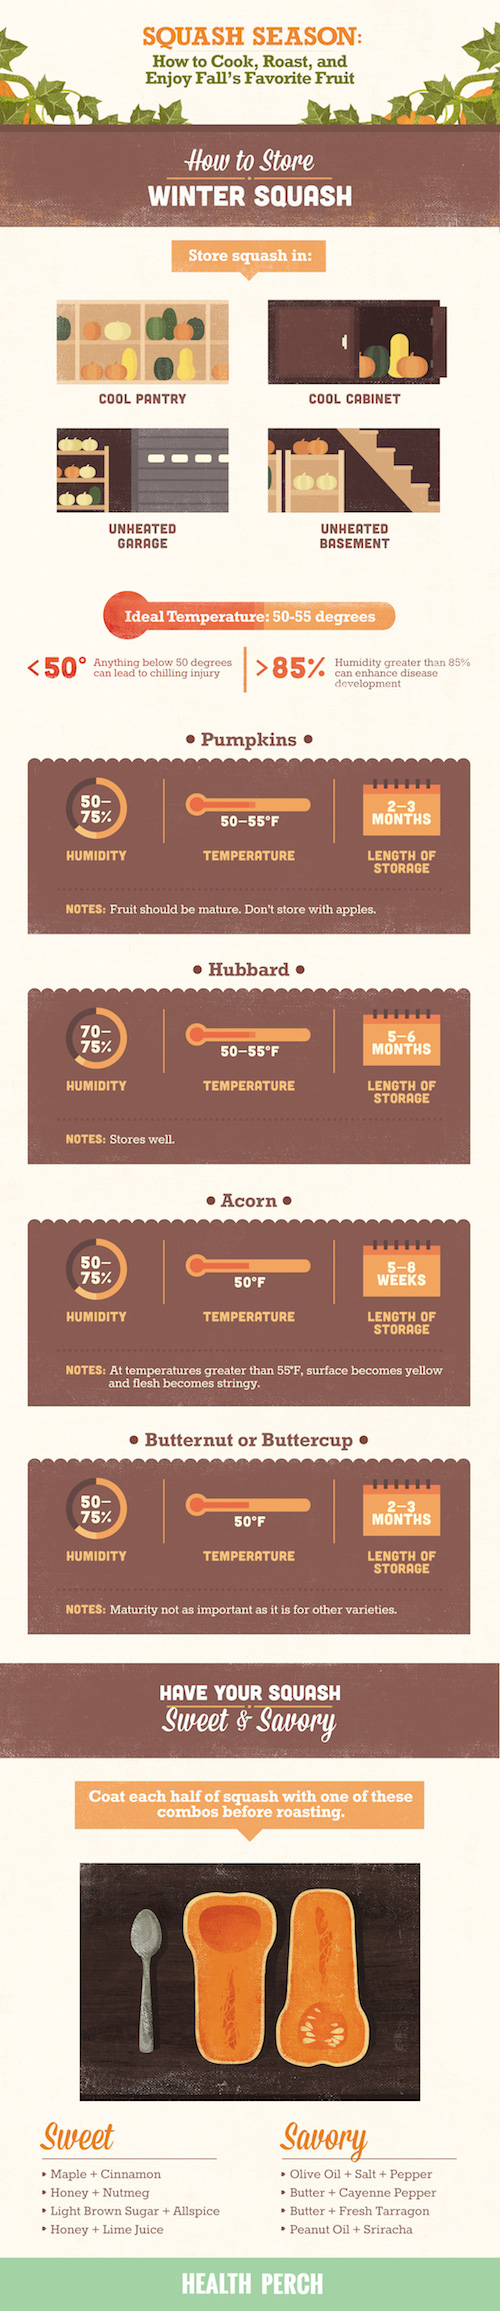
If you are looking to step up your winter squash game a lovely place to start is this primer featured on Health Perch. It does a nice job describing how to store and cook several unusual squash varieties.

But, what I like most about it, besides being cute, is that it encourages you to treat winter squash like a savory fruit (it has seeds, so yes, it is a fruit). Too often squash recipes default to sweet, which is fine, but squash can be so much more complex and delicious when prepared with some unusual and savory spices.
The first time I was introduced to savory winter squash was at the Spotted Pig, a now famous West Village restaurant. My boss at the time and I split the Pumpkin Salad with Pine Nuts, Pecorino and Balsamic Vinegar, and I was blown away. Sure, Chef April Bloomfield is known for her juicy burgers and delicate ricotta gnudi, but this salad was life-changing for me as a home-cook. I had it every time I went back, but I could never figure out how to re-create it at home until one day, when the kitchen gods were smiling down on me, I flipped open a copy of Oprah magazine and discovered the recipe staring back at me. My first thought when I saw the coriander and cumin were “Ah ha! So that’s where that smoky/nutty flavor comes from!” Since then, I’ve not only made this salad a bunch of times, but I regularly use savory spices when I prepare winter squash.
Here’s my take on this salad. I don’t use pumpkin; can rarely find fresh marjoram leaves; and are more likely to have Parmesan than Pecorino cheese in my fridge. Enjoy!
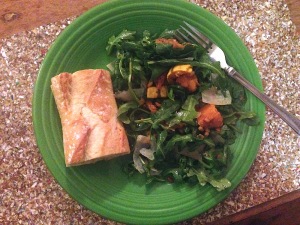
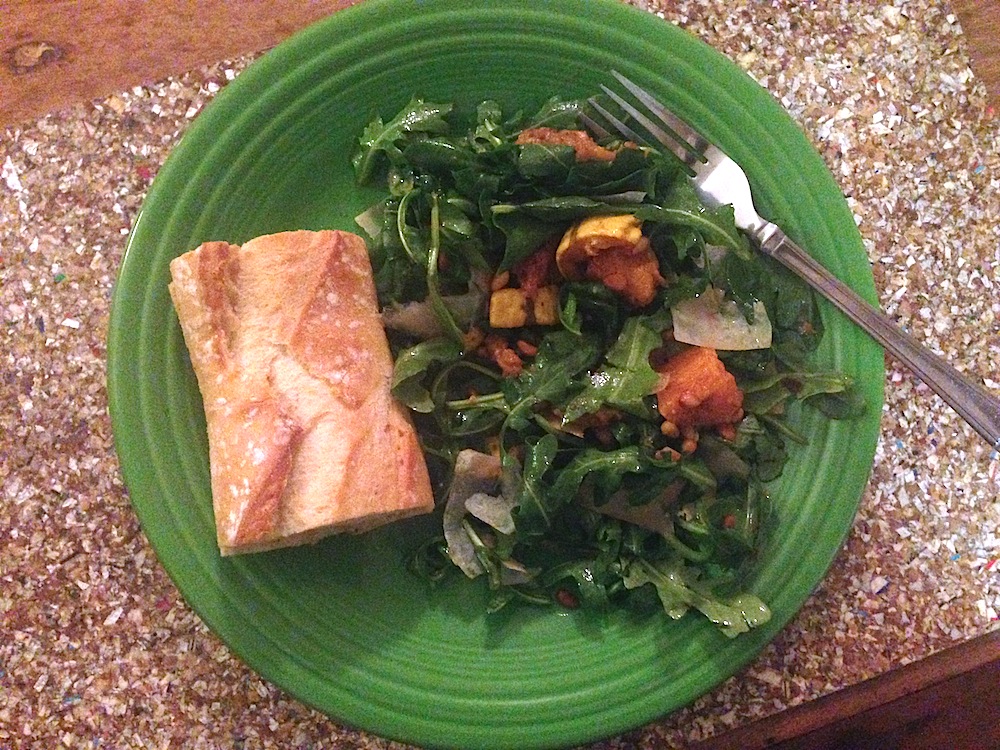
Winter Squash Salad with Pine Nuts, Parmesan and Balsamic Vinegar
1 butternut squash or 2 delicata squash (about 2 pounds)
2 cloves garlic
1 1/2 ts. kosher salt
1 ts. ground coriander
1/4 ts. ground cinnamon
1/4 ts. ground cumin
1/4 cup extra-virgin olive oil
3 TB. fresh lemon juice
3 TB. pine nuts , lightly toasted
salt
pinch ground red pepper (cayenne)
2 small bunches arugula , trimmed
1 wedge Parmesan cheese (about 4 ounces)
Aged balsamic vinegar and extra-virgin olive oil for drizzling
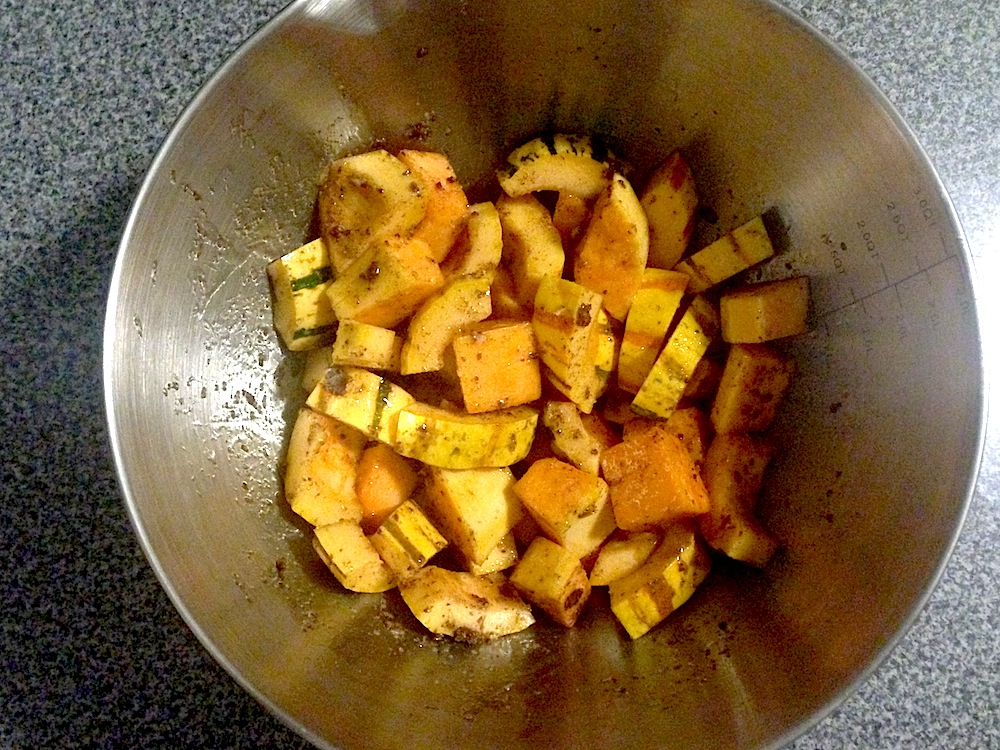
Preheat oven to 350°. Peel, seed and cut butternut squash (don’t peel if using delicata) into 1 1/2-inch chunks. Using a mini food processor or a mortar and pestle, chop or crush garlic, kosher salt, coriander, cinnamon and cumin. Add 2 tablespoons olive oil and mix to form a paste.
In a large bowl, toss squash in spice paste. On a parchment-lined, rimmed baking sheet, spread squash in a single layer. Top with another piece of parchment and cover pan tightly with foil; bake until tender, about 20-25 minutes. Uncover and bake until squash browns lightly, 20-25 minutes; cool slightly.
Return squash to bowl and drizzle with 1 tablespoon olive oil and 2 tablespoons lemon juice. Add pine nuts, sea salt and ground red pepper. Toss gently to combine.
Arrange 1/3 of squash on a serving platter. In the bowl with the remaining squash, add arugula, the rest of the olive oil and lemon juice, and sea salt to taste; toss gently. Top plated squash with arugula mixture. Shave cheese with a vegetable peeler and arrange on top of salad. Drizzle with balsamic vinegar and olive oil to taste.


